Netlist & Export
A finished schematic produces three things: a netlist for analysis, and SVG / PDF figures for documents.
From the GUI
(Ctrl+E) writes a SLiCAP
.cirnetlist.writes a vector figure.
writes a PDF figure.
(Ctrl+P) prints the drawing.
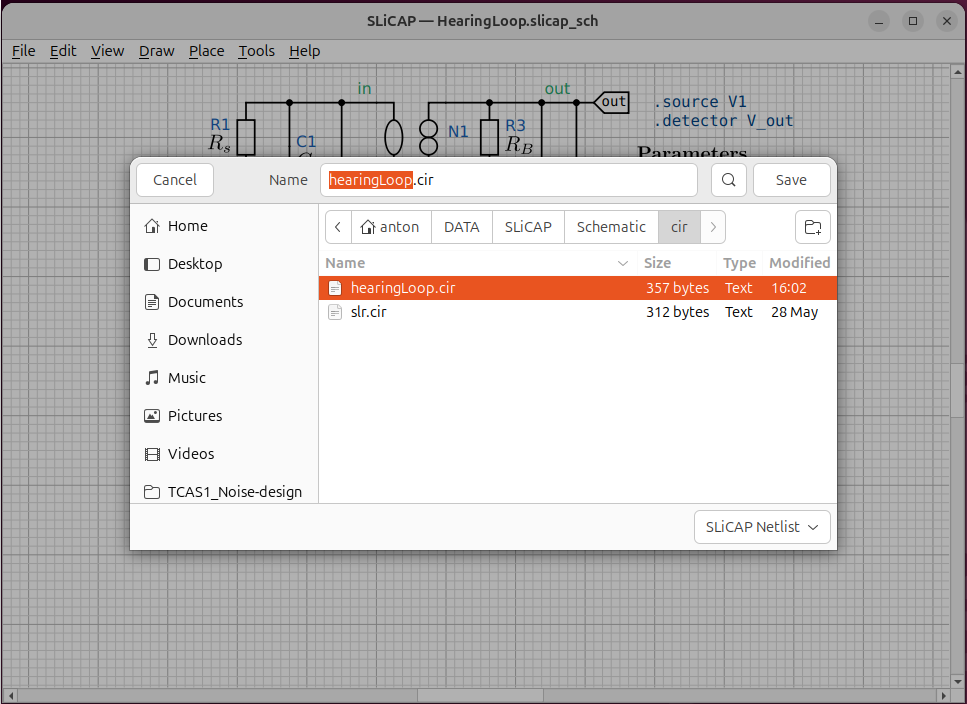
Fig. 39 The schematic and the netlist it produced, side by side.
From the command line
The same outputs can be generated without opening the window — useful for build scripts and Makefiles:
$ python -m SLiCAP.schematic.cli netlist  sch/my_circuit.slicap_sch
$ python -m SLiCAP.schematic.cli svg      sch/my_circuit.slicap_sch
$ python -m SLiCAP.schematic.cli pdf      sch/my_circuit.slicap_sch
If -o <file> is omitted, the output takes the schematic’s name with the
appropriate extension and lands in the project’s cir/ (netlist) or
img/ (SVG / PDF) directory automatically.
Running it in SLiCAP
makeCircuit() recognises the .slicap_sch extension and generates the
netlist and figures automatically before parsing:
import SLiCAP as sl
sl.initProject("My Design")
cir = sl.makeCircuit("sch/my_circuit.slicap_sch")   # exports + parses
result = sl.doNoise(cir, pardefs="circuit", numeric=True)
You can also trigger the export step separately — for example to regenerate figures without re-running the analysis:
from SLiCAP.schematic import make_schematic
make_schematic("sch/my_circuit.slicap_sch")   # writes cir/ and img/
See https://www.slicap.org for the full analysis workflow.
What the netlist looks like
Each element becomes one line — reference designator, nodes (in the symbol’s node order), any references, the model and the parameters:
"My Circuit"

.param R_s = 825
.param C_L = 10e-12

.source V1
.detector V_out

R1 in 3 R value={R_s}
N1 out 0 in 1 N
C3 out 0 C value={C_L}
...
.end