Getting Started
Requirements
Python 3.10 or newer
PySide6 (the Qt 6 bindings)
A working SLiCAP installation (used for symbol metadata and for typesetting parameter values)
For LaTeX-typeset labels and figure export:
pdflatexanddvisvgm(a TeX distribution such as TeX Live). These are optional — without them the editor falls back to plain-text labels.
Launching the editor
From the project root directory, run:
$ python -m app.main
The main window opens with an empty canvas.
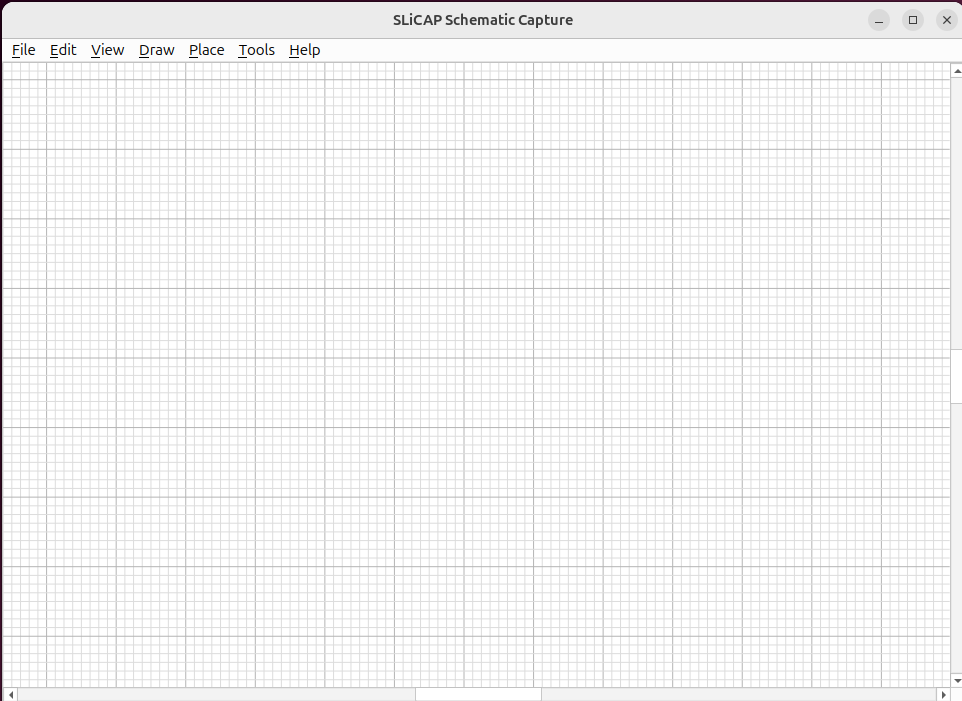
Fig. 29 The main window: menu bar, symbol palette (left) and the drawing canvas.
A first schematic in five steps
Place a symbol. Open (shortcut S), pick a resistor and click on the canvas to drop it. See Placing Symbols.
Wire it up. Choose (shortcut W) and click from one pin to the next. Unconnected pins show a small grey marker that disappears once a wire reaches them. See Wiring.
Set values. Double-click a component to open its Properties dialog and enter a value (for example
{R_s}for a symbolic resistance). See Component Properties.Mark source and detector. Use to designate the independent source and the detector.
Save and export. writes the
.slicap_schfile; produces a.cirnetlist for SLiCAP. See Netlist & Export.