Creating / editing schematics
Launching the schematic editor from the GUI
The Structured Electronic Design Environment interfaces with both SLiCAP and NGspice. Although schematics for both applications may look similar, models and component attributes differ for both applications. SLiCAP is intended for symbolic analysis of linear continuous-time, dynamic circuits, whereas NGspice supports numeric analysis of nonlinear, time-variant, dynamic circuits. For this reason, The GUI uses different symbol sets and libraries for SLiCAP and NGspice. SLiCAP schematic files use the file extension .slicap_sch and NGspice schematics use .spice_sch as file extension.
The schematic edditor can be started as follows:
From the main menu select File -> New SLiCAP Schematic
From the main menu select File -> New NGspice Schematic
From the main menu select File -> Open schematic
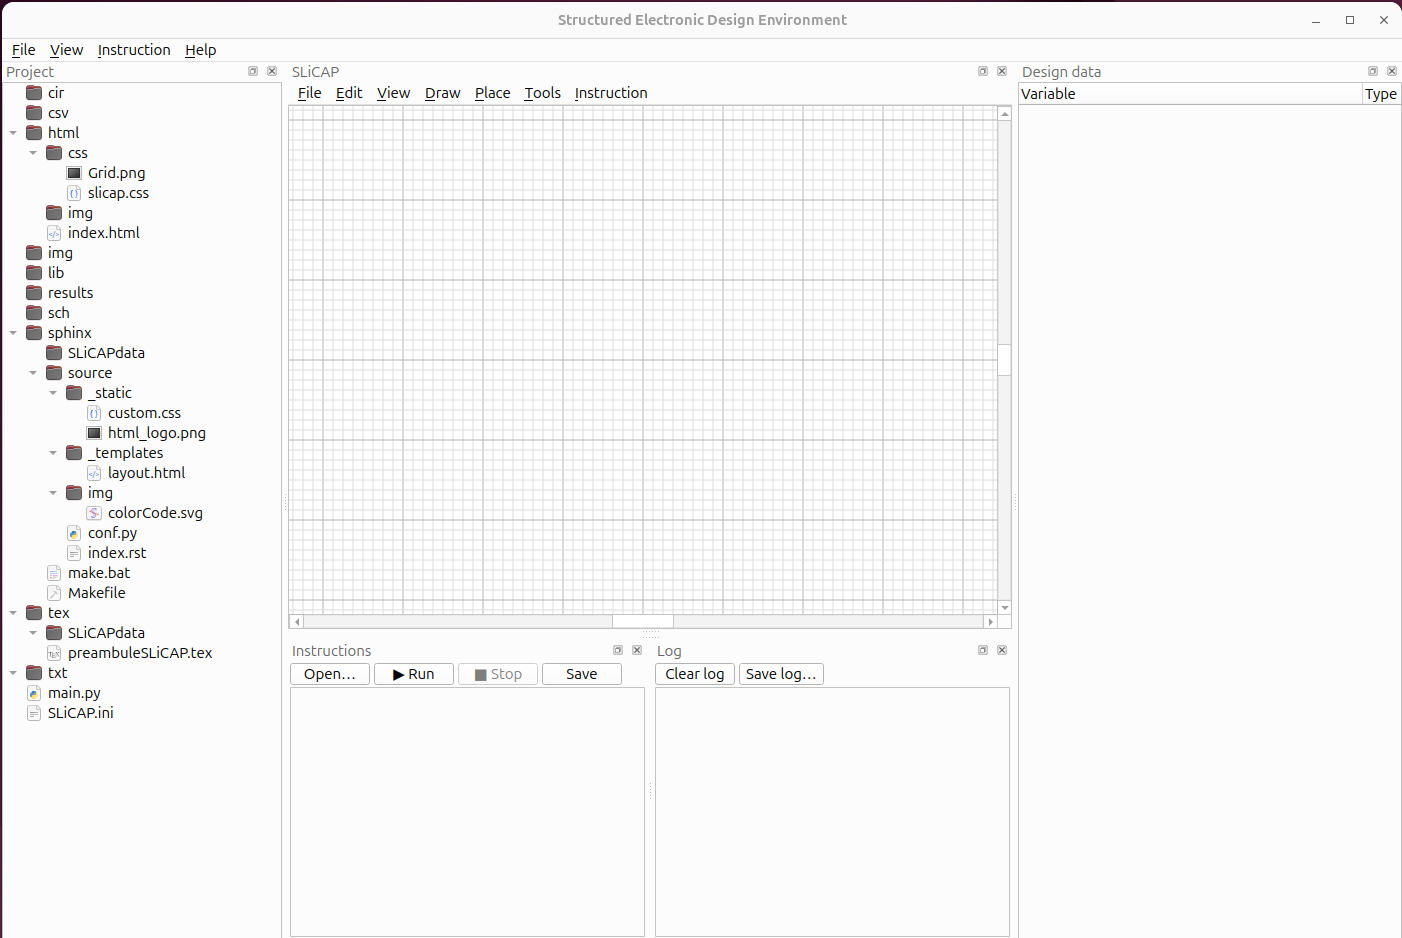
Below the screenshot after creating a new SLiCAP schematic.
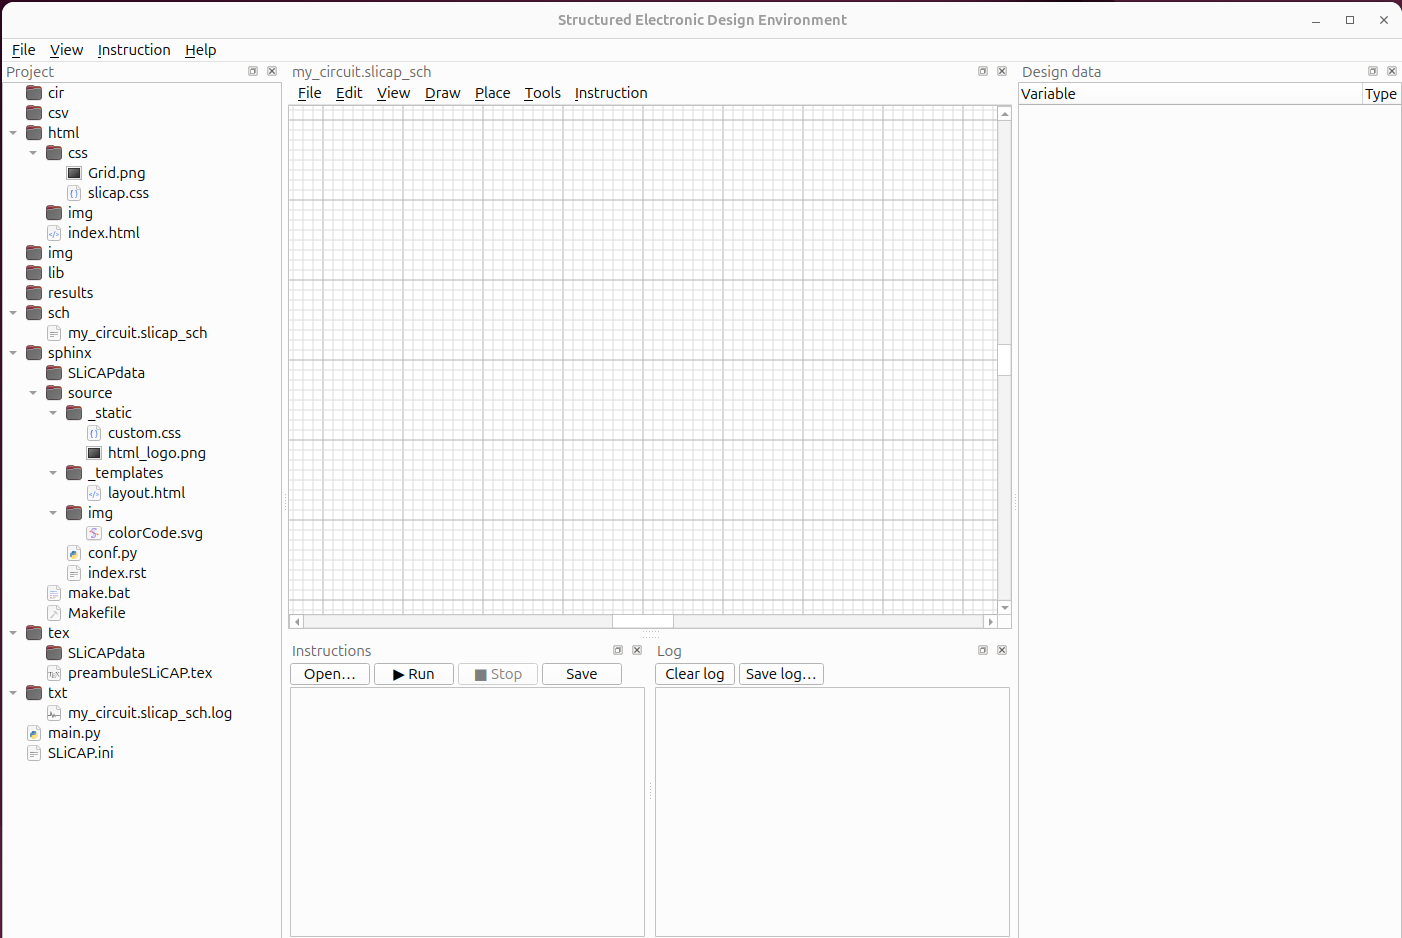
After saving it as “my_circuit.slicap_sch” it becomes visible in the Project panel (in the .sch folder):
Launching the schematic editor from outside the GUI
From a Python session or Jupyter notebook (the usual way):
import SLiCAP as sl
sl.initProject("My Design")

sl.startSchematic()                                # empty editor; choose type from the File menu
sl.startSchematic(config='basic')                  # SLiCAP basic-symbol capture mode
sl.startSchematic(file='sch/mydesign.slicap_sch')  # open an existing file
sl.startSchematic(config='basic', file='sch/mydesign.slicap_sch')
The call returns immediately; the editor runs as an independent process alongside the Python session (schematic-only: no Instruction/Log panels).
config selects the capture mode. It sets the symbol library and
restricts which schematic type may be created or opened:
|
Symbol set loaded |
Schematic type |
|---|---|---|
|
chosen per schematic |
both SLiCAP and NGspice allowed |
|
|
SLiCAP only (NGspice disabled) |
|
the complete SLiCAP library (all SVG files in the system symbols directory) |
SLiCAP only (NGspice disabled) |
|
the NGspice symbol library |
NGspice only (SLiCAP disabled) |
In a restricted mode the disallowed entry is greyed out and lists only files of the permitted type.
file is the path to a schematic to open at startup; its type is inferred from
the extension (.slicap_sch or .spice_sch). A canvas is shown only when
a file is given — otherwise the editor opens empty and you create or open a
schematic from the File menu (honouring the capture mode).
From the command line (for scripting or desktop shortcuts):
$ slicap                                                       # full editor, both types
$ slicap-schematics                                            # schematic-only editor, empty
$ slicap-schematics --config basic                             # basic SLiCAP mode, empty
$ slicap-schematics --config ngspice sch/mydesign.spice_sch    # open an NGspice file
$ python -m SLiCAP.schematic.main --schematic-only --config basic
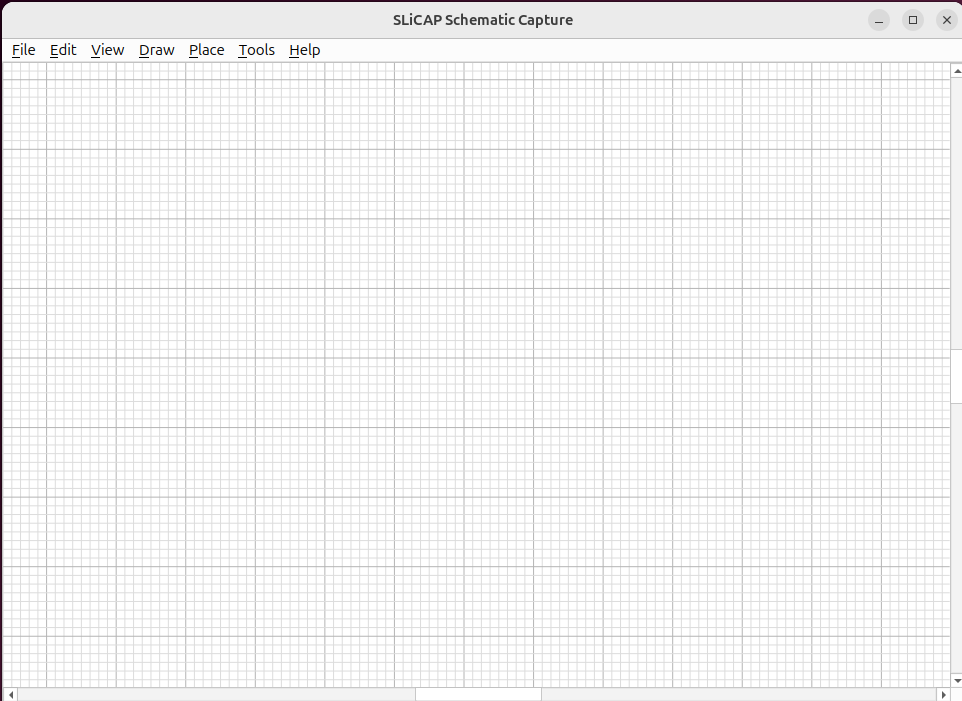
Without a file the editor opens empty; use the File menu to create or open a
schematic in the selected mode.
A first schematic in five steps
Place a symbol. Open (shortcut S), pick a resistor and click on the canvas to drop it. See Placing Symbols.
Wire it up. Choose (shortcut W) and click from one pin to the next. Unconnected pins show a small grey marker that disappears once a wire reaches them. See Wiring.
Set values. Double-click a component to open its Properties dialog and enter a value (for example
R_sfor a resistance). See Component Properties.Mark source and detector. Use to designate the independent source and the detector. Do this as the last step, with the schematic complete and saved: the dialog’s drop-down lists come from the parsed circuit, so elements added later are not offered until the dialog is reopened (see Net Labels, Ports & Ground).
Save and export. writes the
.slicap_schfile; produces a.cirnetlist for SLiCAP. See Netlist & Export.
A schematic can also be saved as a reusable subcircuit and placed as a block in other schematics; see Hierarchical Blocks.
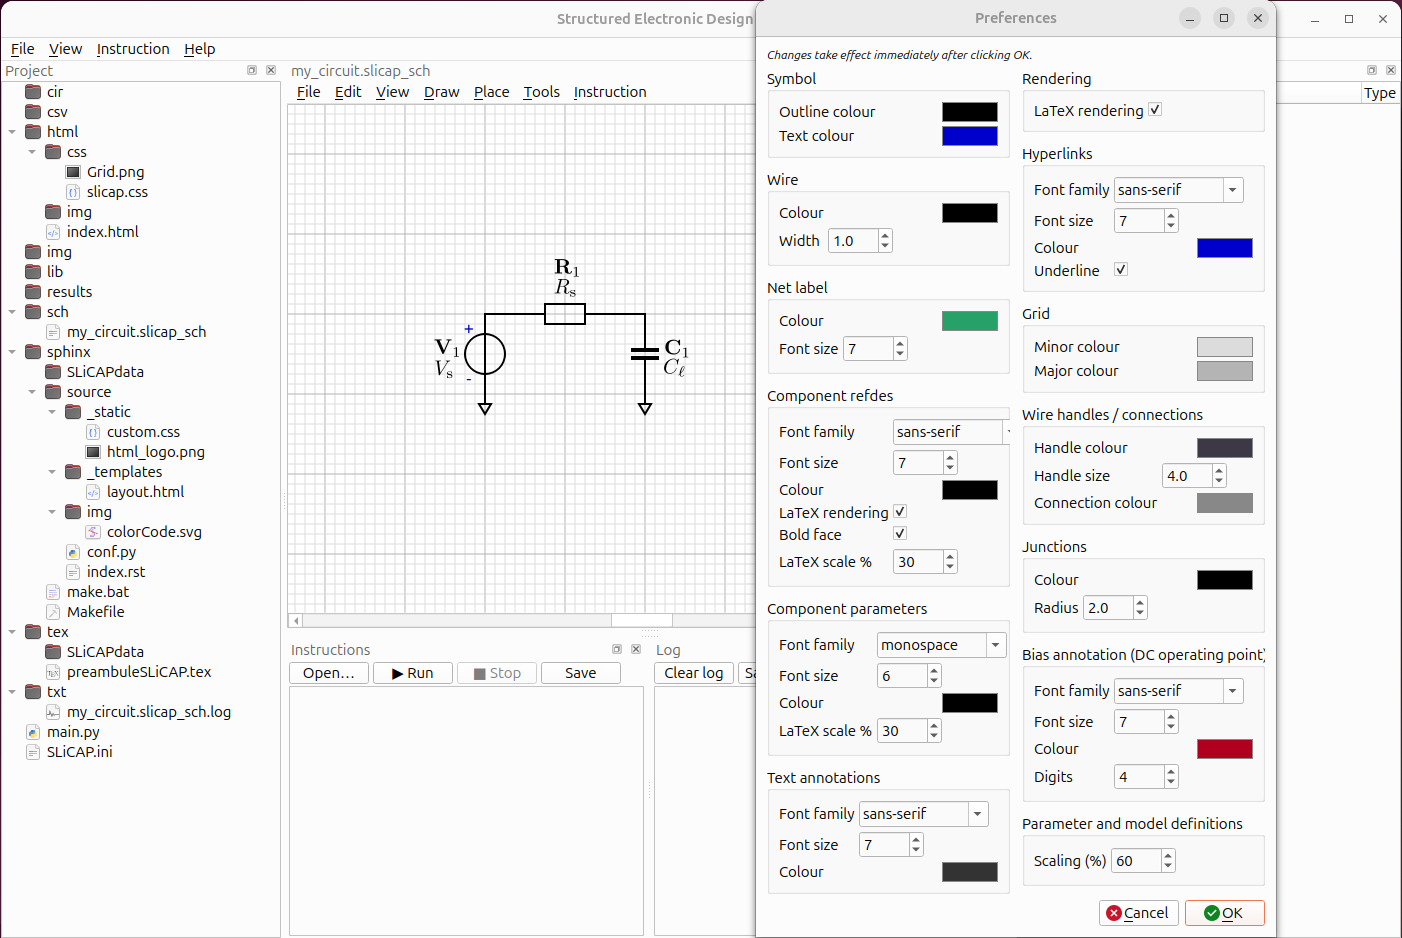
Below an example of a SLiCAP schematic with default preferences and LaTeX rendering enabled.
Sidecar files
A schematic is self-contained: everything it needs to look and behave the
same on another machine travels next to it in sch/. Saving
my_circuit.slicap_sch creates and maintains a small set of sidecar files
with the same base name.
File |
Contents |
|---|---|
|
The schematic itself (components, wires, labels, annotations) — the file you open and save. |
|
This schematic’s style (line widths, colours, fonts), so it always looks as it did when saved. See Preferences. |
|
Frozen copies of every symbol the schematic uses, so it renders with the exact symbols it was drawn with. See Symbol Libraries. |
|
A cache of rendered LaTeX labels, so re-opening is fast. Created only if the schematic actually contains typeset expressions; safe to delete. |
Why sidecar files
Portability — copy the
.slicap_schtogether with its.iniand.symbolsto another computer and it looks and netlists identically.Reproducibility — a figure in a book keeps its appearance even if the application’s default symbols or style change later.
No clutter — the render cache lives next to the schematic, not in a global folder that quietly grows over time. Deleting a project removes all its files together.
Note
The .ini and .symbols files are part of the project and should be
kept (and version-controlled) with the schematic. The .cache directory
is regenerated automatically and can be ignored or deleted.